
Step-By-Step: Virtualize a physical machine using Disk2VHD
We recently virtualized a Microsoft Small Business Server 2008 (SBS2008) from an aging machine to a VM hosted by a new replacement server. The steps can be helpful for other physical to virtual conversions. The tool we used was Disk2VHD.
 Check the file system using “SFC /SCAN NOW” and “CHK DSK C: /F”, and reboot the server
1. Run “SYSADMIN LIST WRITERS” to make sure all is good
2. To Stop the following services on the server
Exchange
SharePoint
3. Run “physical machine using DISK2VHD” to convert all local volumes to a single VHDX file
Save the file directly to the new server via a network, or a USB3.0 hard drive
4. Create a VM (Hyper-V Generation 1) on the new server (the host)
Assign the same amount of logical processors and RAM as the old server
Attach the VHDX file
Create a virtual switch and attach
5. Power off the old server
6. Power on the VM
It may take a few minutes before Ctrl+Alt+Del responds
7. Fine-tune the VM –
Configure the network adapter with the same settings from the old server
Run the “Connect to the Internet” wizard
Uninstall all unneeded software, such as Dell Open Manage Administrator
Remove all non-present devices –
SET DEVMGR _SHOW_NONPRESENT_DEVICES=1 (do not close the cmd prompt window)
Device Manager | View | Show hidden devices
8. Activate Windows

Upgraded To Windows 10 Mobile
Upgraded To Windows 10 Mobile
To upgrade your Windows phone to Windows 10 Mobile, you will need to install and run Upgrade Advisor which can be downloaded from Microsoft Store on your Windows phone. This is the only way to upgrade. Many Windows phone users have been waiting for their phone company to push this upgrade to their phones, but this won’t happen.
Firstly, it’s worth noting that Microsoft stopped supporting Windows 10 Mobile in December 2019. This means that there are no new updates or features being released for the operating system. And it may not be the best option for your device.
 If your device is eligible for the upgrade, you can check for updates by going to Settings > Update & Security > Phone update. If an update is available, you’ll be prompted to download and install it.
Microsoft Stopped Supporting Windows 10 Mobile
However, not all devices are eligible for the upgrade to Windows 10 Mobile. Microsoft has a list of supported devices on its website. So it’s a good idea to check if your device is on that list before attempting to upgrade.
If your device is not eligible for the upgrade. You may want to consider upgrading to a newer device that supports a more recent version of Windows or another operating system altogether.
It’s always a good idea to back up your device before attempting any major updates. To ensure that you don’t lose any important data.
I was about to give up my Windows phone running Windows 8.1 Mobile and get a Google Pixel. Until I upgraded my Windows phone to Windows 10 Mobile last year. It is so much better!
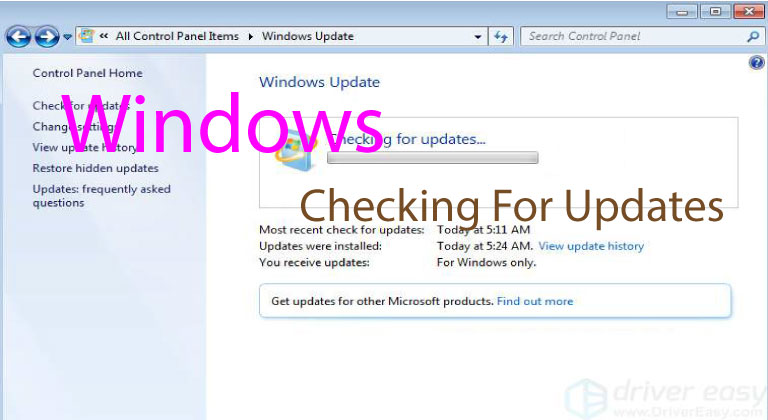
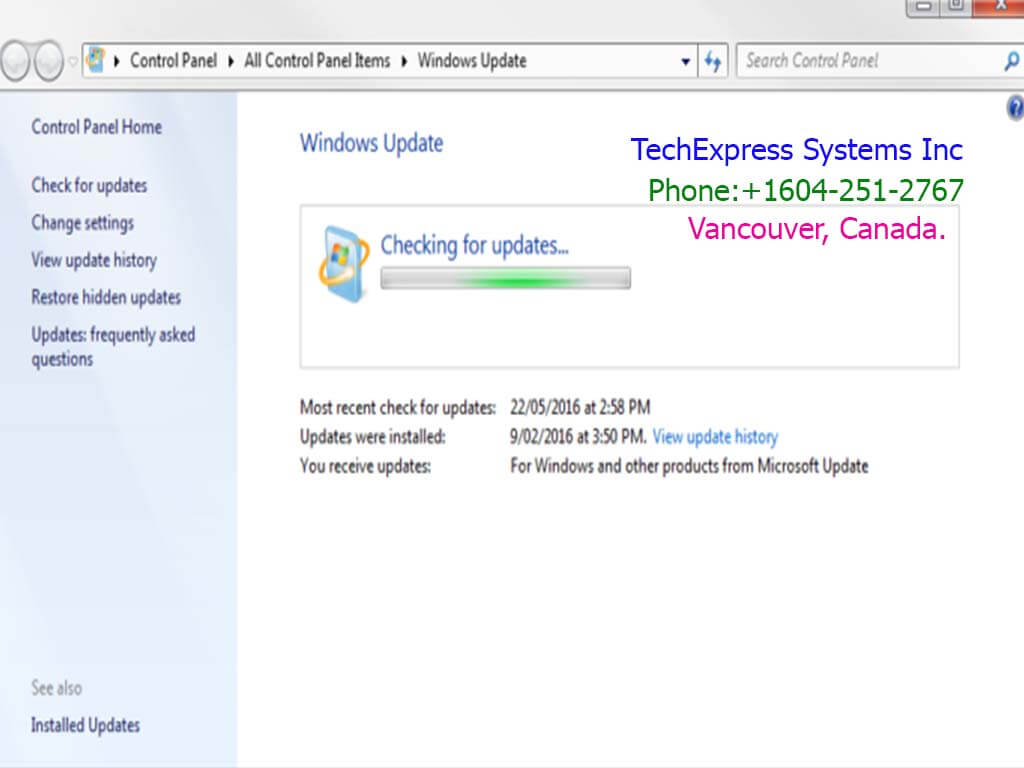
Windows 7 - Checking for Updates Takes Forever.
Windows 7 Checking For Updates
If you are running Windows 7, you may need to check for updates periodically to ensure that your computer has the latest security patches and bug fixes. Here are the steps to check for updates in Windows 7:
– Click the Start button then select Control Panel.
-Then select System and Security from Control Panel.
– Below the System and Security, click on Windows Update.
Windows Update will open and begin checking for updates.
If you need updates available, you will be prompted to download and install them. Click on the Install Updates button to begin the installation process.
 Depending on the size of the updates, the installation process may take some time. You will have the needed to restart your computer once the installation is complete.
Once you have installed all available updates, you can close the Windows Update window.
It’s important to keep your operating system up-to-date to ensure that your computer is protected from security vulnerabilities and runs smoothly. Therefore, it’s recommended to periodically check for updates on your Windows 7 computer.
Also, Sometimes, this happened after we received a new Windows 7 PC and tried to run Windows Update.
Here is how we fixed it.
– stop Windows Update service
– install April 2015 servicing stack update KB3020369
– install KB3172605
– restart

Do I still have a chance to upgrade to Windows 10 for free?
Microsoft’s free upgrade offer to Windows 10 officially ended on July 29, 2016. However, there are still ways you can upgrade to Windows 10 for free. However, they are not officially supported by Microsoft. Here are some options:
Assistive Technologies: Microsoft still offers free upgrades to Windows 10 for users who rely on assistive technologies. However, this offer is not limited to assistive technology users only. There is no verification process to prove that you use assistive technology. So, you can still take advantage of this offer by visiting the Microsoft Accessibility website and clicking on the “Upgrade Now” button.
 Use a valid Windows 7 or 8.1 product key: If you have a valid product key for Windows 7 or 8.1, you can still use it to activate Windows 10. You can download the Windows 10 installation media from Microsoft’s website. Then use your Windows 7 or 8.1 product key during the installation process.
Unofficial methods: There are some unofficial methods available on the internet that allow you to upgrade to Windows 10 for free. However, we do not recommend using these methods as they are not supported by Microsoft and can pose security risks to your computer.
It’s important to note that if you do upgrade to Windows 10 using any of these methods. You may encounter compatibility issues with older software and hardware. Therefore, it’s recommended to check with your software and hardware manufacturers. Ensure that they are compatible with Windows 10 before upgrading.
This offer from Microsoft ends on Dec 31st, 2017

An existing Office 365 Tenant? Now You Have Option To Move Office 365 Data Residency Canada
SkningI
Office 365 Data Residency Canada
Microsoft announced the availability of a new Office 365 data center region in Canada this May. Canadian organizations now have the option to move their Office 365 core data (Exchange Online, SharePoint Online, etc) back to Canada. This option is available until October 31, 2016. Simply send the request from your Office 365 portal. Here are the steps and we have done this for all of our Office 365 clients.
Login Office 365 portal as global admin | Settings | Organization Profile | Data Residency Options | Edit | Switch to Yes and save.
 Then Microsoft will look after the rest. The data move process will be completed by Nov 1, 2018. This process will be running in the back end with minimal impact. Once it is done, Microsoft will post a message on the 365 portal.
An existing Office 365 Tenant Migration?
Keeping Office 365 data residency in Canada is always our first option if we can choose for our clients. 10 years ago, Canada enacted rigid privacy laws that are compliant with the privacy laws in the European Union. Canadian and European companies that host in the United States may be breaking the law. If private information is not adequately protected.
The same is true if private information is subject to American laws like the Patriot Act by hosting this information in the U.S. As a result, hosting in Canada means private information is more effectively and consistently safeguarded legally than it would be in the United States.
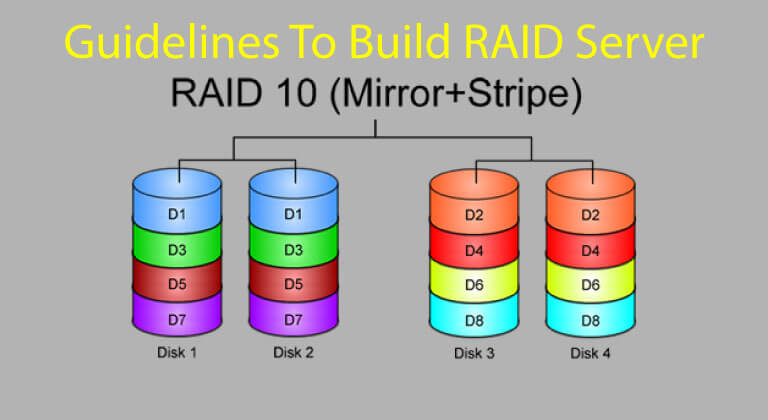
Our guidelines to building RAID for servers
Guidelines For Building RAID Servers
RAID is multiple hard drives that are grouped together to gain better performance and/or failure redundancy. A server should always use RAID rather than a single hard drive.
Depending on how the hard drives are “grouped”, RAID has different types, such as RAID 0, RAID 1, RAID 5, RAID 6, RAID 10, RAID 50, RAID 60, etc.
Here are the DOs and DON’ts when we build RAID for servers
- We do not use traditional SATA hard drives which are slow and less reliable
- We do not use software-based RAID controllers which are slow
- We do not use RAID 5 with 3 hard drives, which is slow. If we have to use RAID 5, we will use RAID 5 with at least 5 hard drives to improve performance.
- We do not use SSD hard drives yet.
- We use SAS, 15K RPM hard drives
- We use RAID 1 for OS, RAID 10 for data.
- We use RAID 10 with 4~16 hard drives for file servers.
- We use RAID 10 with 6~ 16 hard drives for SQL or Exchange
RAID 10 is our all-time favorite RAID type. The more hard drive are grouping in RAID 10, the better performance the server will gain.

Making a Network Cable The Right Way
Making Network Cable Right Way
Making a network cable is familiar with an Ethernet cable, requires a few steps to ensure it is done correctly. Here are the steps to make a network cable:
Gather the necessary tools: You will need a crimped tool, a network cable tester, an Ethernet cable, and two RJ45 connectors.
Strip the cable: Use a wire stripper to remove about 1.5 inches of the outer jacket from the Ethernet cable. This will expose four twisted pairs of wires inside.
Untwist the pairs: Untwist the pairs of wires and arrange them in the correct order. The correct order is a typical print with the connector packages or can finds online.
The order should be as follows: white/orange, orange, white/green, blue, white/blue, green, white/brown, and brown.
Trim the wires: Use wire cutters to trim the wires so they are all the same length, about 1/2 inch.
 Insert The Wire Into The Connection:
Insert each wire into the appropriate slot in the connector. The wire order should match the order printed on the connector packaging.
Crimp the connector: Use the crimped tool to crimp the connector onto the cable, and ensure that it’s safely joining together.
Repeat on the other end: Repeat the above steps on the other end of the cable, ensuring that the wire order matches.
Test the cable: Use a network cable tester to ensure that the cable is working correctly.
By following these steps, you can make a network cable that will allow you to connect devices to a network.

About Security - some quick thoughts for mobile users
Security Mobile Laptop Users Remote
As a mobile laptop user, there are several steps you can take to enhance your security while accessing remote networks or resources. Here are a few tips:
Use a VPN: A Virtual Private Network (VPN) will help you protect your data by encrypting your internet traffic and masking your IP address. This makes it more difficult for hackers or eavesdroppers to intercept your data or track your online activity. You can use a VPN client to connect to your company’s VPN or use a third-party VPN service.
 Keep your software up-to-date: Ensure that your operating system, web browsers, and other software are updated with the latest security patches and updates. This will help you to prevent vulnerabilities that could be exploited by attackers.
Use strong passwords: Always use strong, unique passwords for all your accounts, including your laptop login, email, and remote access tools. Consider a password manager to generate and store your password securely.
Enable Two-Factor Authentication:
Enabling two-factor authentication (2FA) adds an extra layer of security. To your accounts by requiring an additional verification step beyond a password. This will work as a fingerprint, a code sent to your phone or a security token.
Beware of public Wi-Fi: Public Wi-Fi hotspots can be vulnerable to attacks. So it’s important to be cautious when using them. Avoid accessing sensitive information over public Wi-Fi and use a VPN to encrypt your traffic.
Disable unnecessary features: Disable unnecessary features such as Bluetooth, Wi-Fi, and file-sharing. When you’re not using them to reduce the attack surface.
By following these tips, you can help protect your laptop and data while accessing remote networks or resources.

Why I Switched Internet Explorer To Chrome
Switched Internet Explorer To Chrome
A couple of clients told me that Internet Explorer froze up or crashed every day. This problem actually happened to me long ago. That’s why I switched Internet Explorer to Chrome and Firefox as alternatives to IE, later setting Chrome as my default browser.
 I still use IE for websites running ActiveX, such as Remote Web Workplace or Remote Web Access pages from Microsoft Small Business Server, but that’s it. I use Chrome for web surfing pretty much all the time now. It is simple, fast, and stable.
This April, Chrome passed IE as #1 on the browser market for the first time. It is not a surprise for me.

Should I Upgrade to Windows 10
Two weeks ago, Microsoft switched the automatically-offered Windows 10 upgrade to a “Recommended” Windows update. If your Windows Update settings were configured to download and install “Recommended” items, Windows 10 upgrade process will be in turn scheduled unless the user interfered.
You may see the following message on your screen. Regardless you click on “OK” or the red cross “X” in the top right corner, this upgrade will be considered approved and will proceed. If you do not want to proceed, you will need to pay attention to the 4th line in the message.
 I have been asked the following two questions more frequently as the deadline (July 29) for the Windows 10 free upgrade is approaching.
Do you like Windows 10?
Yes, I think I like it, despite the way Microsoft is pushing it. Windows 10 is fast, smart, stable, and dual (or multiple) monitor-friendly.
For Our Business Clients upgrade to Windows 10.
If you are running Windows 8 or 8.1 and regardless of whether this is a home or business PC, I would recommend this upgrade.
If this is a home PC running Windows 7, and you are fine with a small learning curve, and you are sure that Windows 10 is compatible with your major programs and peripheral devices, I would recommend this upgrade.
For our business clients running Windows 7, this upgrade is not mandatory; instead, it is voluntary under the following conditions
- All core software and drivers have to be compatible with Windows 10. We will help confirm this.
- The user should be able and willing to handle the upgrade process by him/herself without requiring much of our time. I do not see the necessity for our business clients to invest much IT time in this upgrade.
As of May 2016, about 18% of desktop computers are running Windows 10 while 49% are running Windows 7. If you have upgraded to Windows 10, I hope you are enjoying it. If you have not, you are not alone.